
알슈베르도 사냥 준비
몬스터 선택부터 사냥 시작까지 한 페이지에서. 약점, 무기, 빌드, 장비, 아이템, 전략.
1. 몬스터
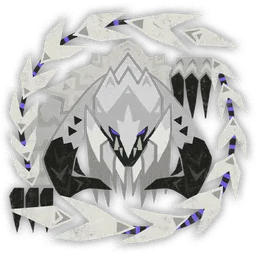
2. 약점
약점
- 용 ●○○
- 마비 ●●○
- 독 ●●○
- 수면 ●●○
내성 있음
- 소음
가장 약한 부위
- 오른쪽 사슬날개 50 / 50 / 45
- 왼쪽 사슬날개 50 / 50 / 45
- 머리 45 / 48 / 45
기본 육질: 절단 / 타격 / 탄
부위 파괴
- 왼쪽 사슬날개
- 오른쪽 사슬날개
- 머리
3. 무기
어드바이저 열기 · 반적 알리지르
4. 빌드
이 몬스터와 무기에 대해 공개된 빌드가 아직 없습니다.
해당 빌드 모두 보기 →5. 내 장비
6. 아이템
7. 전략
Pressure the charged chainblades
Arkveld absorbs energy through its chainblades. When they spread wider in the enhanced state, keep your damage on a blade instead of chasing the torso. The in-game description says sustained elemental pressure can overload the organs and end that state. Kiranico's 1.040 table shows a separate elemental Hitzone for that state, so do not apply the advice to the ordinary blade without checking its state. 단일 출처 [1]
Watch the wing at close range
Work near a wing to reach its blade after a missed swipe. Arkveld can still slash at its side, so leave room for a dodge and wait for the arm to finish moving before a slow combo. Standing at medium range invites the blade's full reach. 단일 출처 [2][1]
전조
Arkveld pulls one or both wingarms back before a chainblade strike.
대응
Wait for the blade to land, move out of its line and punish the recovery. Charged attacks can cover a wider area or come in a sequence, so check for a second strike before committing. 단일 출처 [2][1]
전조
The charged chainblades glow and Arkveld winds up a broad frontal dragon-energy attack.
대응
Leave the frontal arc early. Do not dodge backward along the line of expanding explosions; move to the side or behind Arkveld if the wind-up gives you time. 단일 출처 [2]
8. 시작
사냥 중 필요한 정보만 표시합니다. 보조 화면에도 적합합니다.
빠른 보기로 사냥 시작 →