跳到內容

本站介面文字為機器翻譯,遊戲名稱以官方繁體中文版為準。

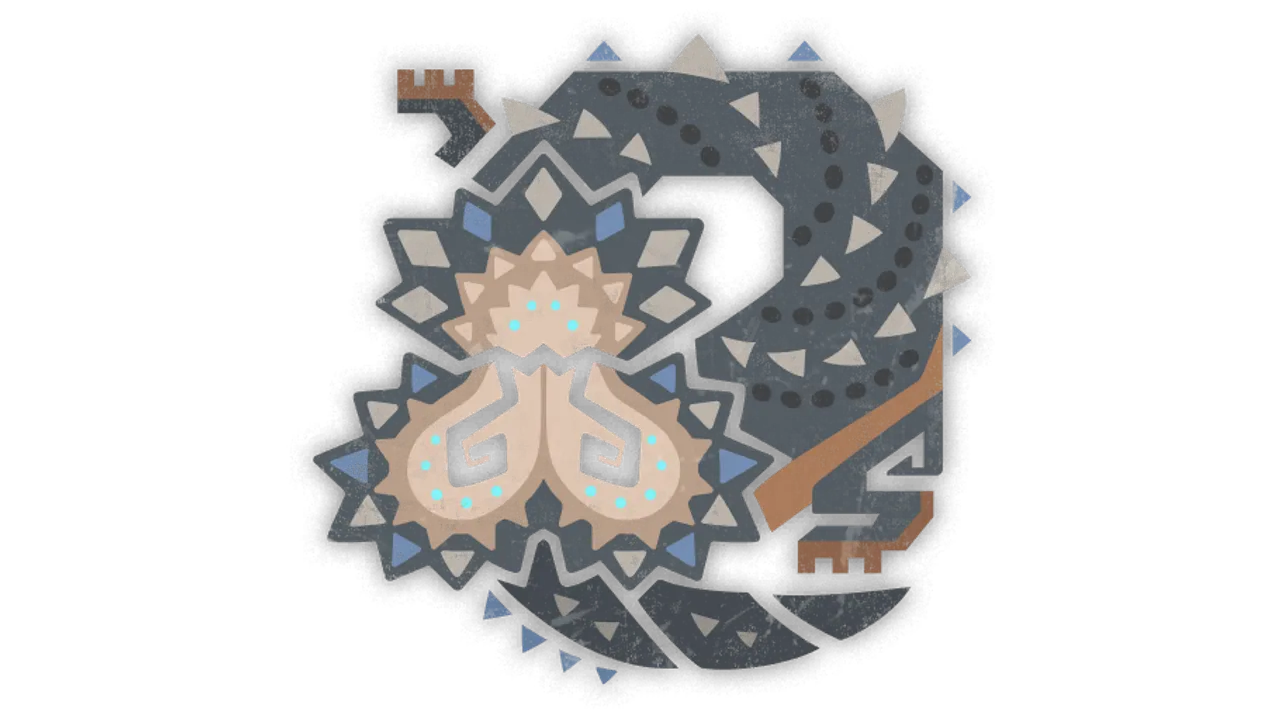
海龍種

沙海龍

棲息地: 天塹沙原 基礎體力: 4,400

Balahara burrows into desert sand and coils its body to create quicksand traps. While submerged it relies on hearing; when it expels mucus, the inside of its mouth becomes a useful short opening. Track the sand as carefully as the monster's body. [1][2]

屬性

弱點

  • 火
  • 水 耐性
  • 雷
  • 冰
  • 龍

異常狀態

  • 麻痺
  • 毒
  • 睡眠
  • 爆破

道具與效果

  • 噪音
  • 閃光
  • 昏厥
  • 減氣
耐性 水

狩獵之前

戰鬥顧問

你的武器種類

攻擊部位(彈藥)

  1. 頸部 45
  2. 頭部 45
  3. 尾巴 45

這些部位的屬性

  • 雷 18
  • 火 10
  • 冰 5
  • 龍 5
  • 水 0

推薦武器

此武器種類沒有最佳屬性的武器。

無屬性

傷害套裝

  • 弱點特效 5
  • 看破 4
  • 攻擊 3
  • 第四射擊 2
  • 屬性吸收 1
  • 護鎖刃龍之命脈 1
  • 耐力急速回復 1
  • 耐震 1

≈ 是對最佳三個部位每次命中的估算(基礎最高銳利度、會心率、屬性、假定動作值 30%)。僅用於比較武器,並非遊戲內傷害數值。套裝來自搜尋推算,不保證最佳。

如何擊敗 沙海龍

本指南部分內容尚未翻譯,以英文顯示。

Take the mouth opening

Kiranico's in-game description identifies the mouth interior as a soft target immediately after Balahara expels mucus. Move clear of the projectile first, then use the brief opening for a focused attack instead of standing directly in front during the wind-up. 單一來源 [2]

Keep clear of new sinkholes

Capcom describes Balahara using its flexible body to make quicksand pits for prey. Mobalytics describes a smaller sinkhole after some dives and a wider pull while enraged. Leave the forming pit rather than chasing the submerged monster into its center. 單一來源 [1][3]

準備

  • Carry Screamer Pods for Balahara while it is submerged. Kiranico's 1.040 in-game description says its heightened hearing makes sonic effects effective and notes that Screamer Pods can be obtained from Baunos. Availability and timing should be checked in the current hunt. 單一來源 [2]
攻擊模式

  • 前兆

    Balahara coils its tail before a quick stabbing thrust, according to Mobalytics.

    應對

    Step to the side of the thrust instead of retreating along its line. This specific tell is single-source and its timing is unverified for version 1.042. 單一來源 [3]

  • 前兆

    Mobalytics describes Balahara rising onto its hind body before expelling a large mud burst forward.

    應對

    Dodge laterally and look for the mouth opening only after the projectile passes. 單一來源 [3][2]

部位

肉質

部位切斷打擊彈藥
頸部50(弱點)60(弱點)45(弱點)10020(弱點)55
頭部50(弱點)60(弱點)45(弱點)10020(弱點)55
尾巴55(弱點)45(弱點)45(弱點)1001555
左前腳424025501555
右前腳424025501555
軀幹384030501555
左後腳353825501555
右後腳353825501555

數值越高傷害越大。醒目標示:物理 45 以上,屬性 20 以上(本站標準)。資料來源的基礎值,憤怒或傷口等狀態可能改變數值。

上位

部位破壞

獎勵和機率來自單一資料來源,未經核實。來源未列出破壞的戰鬥優勢,因此不顯示。

推薦配裝

尚無以 沙海龍 為目標的公開配裝。

所有針對 沙海龍 的配裝(0) → 針對 沙海龍 配裝 →

素材

掉落

素材方式機率
龍玉 任務報酬 100%
沙海龍的尾巴 剝取(切斷尾巴) 93%
沙海龍的尖頭殼 破壞部位 80%
小塊龍血石 破壞傷口(強化個體) 65%
沙海龍的上鱗 剝取(腐敗,切斷) 60%
沙海龍的上鱗 破壞傷口 48%
沙海龍的堅殼 破壞傷口 47%
沙海龍的尖頭殼 任務報酬 45%
沙海龍的尾巴 剝取(腐敗,切斷) 40%
沙海龍的上鱗 剝取(腐敗) 40%
龍血石 破壞傷口(強化個體) 35%
沙海龍的上鱗 剝取 30%
沙海龍的堅殼 剝取(腐敗) 30%
尖龍骨 剝取(腐敗) 30%
大水袋 ×2任務報酬 24%
沙海龍的黑珍珠 任務報酬 24%
沙海龍的上鱗 任務報酬 23%
沙海龍的堅殼 剝取 23%
沙海龍的堅殼 任務報酬 23%
沙海龍的上鱗 任務報酬 20%
沙海龍的堅殼 任務報酬 20%
沙海龍的黑珍珠 破壞部位 20%
大水袋 任務報酬 18%
沙海龍的尖頭殼 剝取 17%
沙海龍的尾巴 任務報酬 16%
大水袋 任務報酬 15%
沙海龍的黑珍珠 剝取 14%
沙海龍的尖頭殼 任務報酬 13%
沙海龍的尾巴 剝取 11%
沙海龍的黑珍珠 任務報酬 11%
沙海龍的尖頭殼 任務報酬 10%
沙海龍的黑珍珠 任務報酬 10%
沙海龍狩獵證S 任務報酬 8%
沙海龍的尾巴 任務報酬 7%
龍玉 剝取(切斷尾巴) 7%
龍玉 任務報酬 7%
龍玉 剝取 5%
沙海龍的黑珍珠 破壞傷口 5%
龍玉 任務報酬 3%
龍玉 任務報酬 3%

機率來自單一資料來源,尚未交叉驗證。

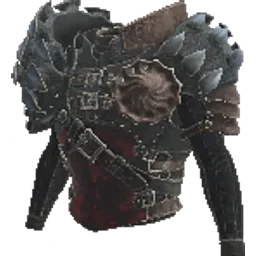
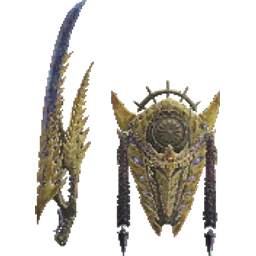
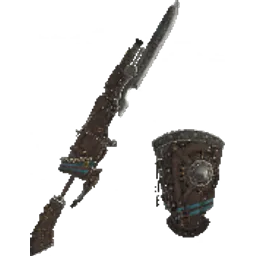
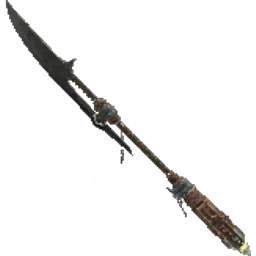
其素材打造的裝備

防具 · 13

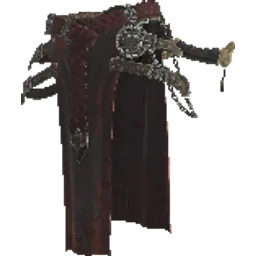
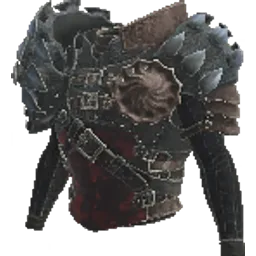
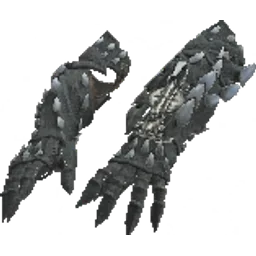
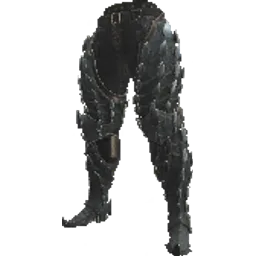
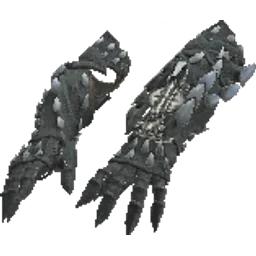
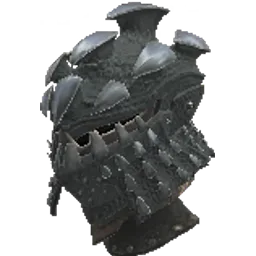
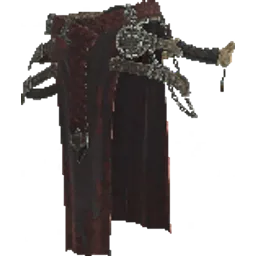
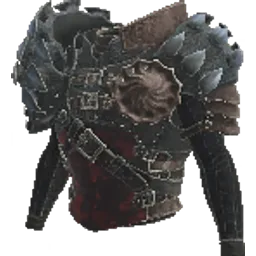
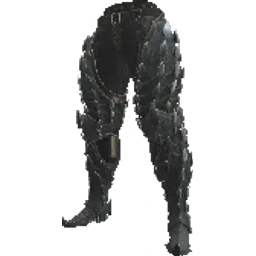
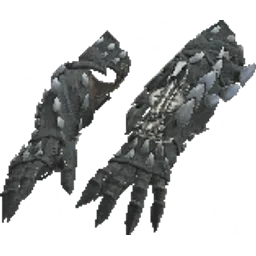
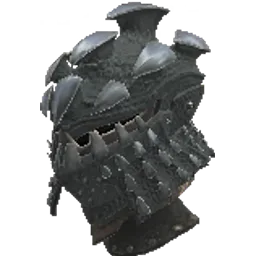
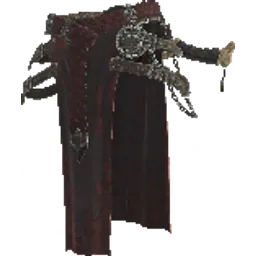
  • 沙海龍
  • 沙海龍α
  • 沙海龍β

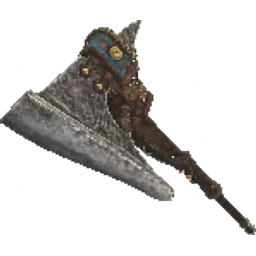
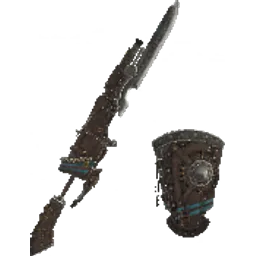
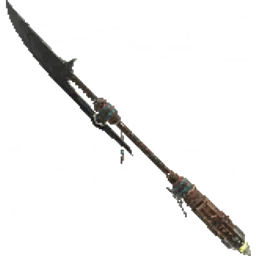
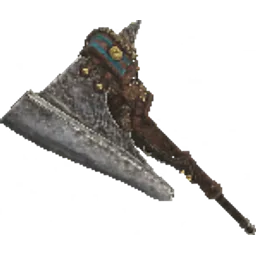
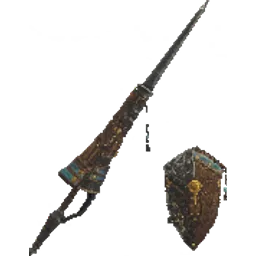
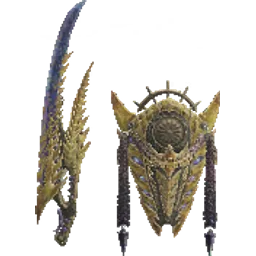
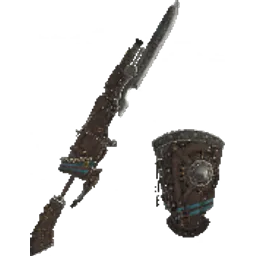
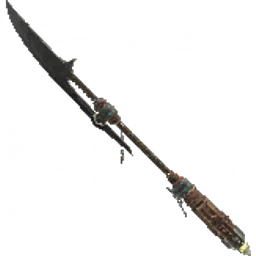
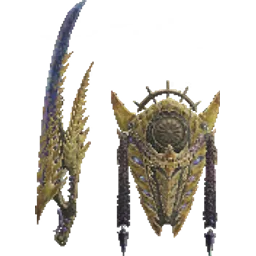
武器 · 15

護石 · 2

出沒地點

刷素材策略

  • Kiranico lists Balahara Tail in a separate high-rank severed-part carve pool. Mobalytics also describes the tail as severable. Keep this pool separate from body carves and target rewards; the listed chances are not verified for version 1.042. [2][3] 沙海龍的尾巴
  • Kiranico lists Balahara Skull+ in a high-rank broken-part reward pool. The row does not explicitly name the break target, so confirm the part in game before planning repeated hunts. No current-patch drop chance is claimed. 單一來源 [2] 沙海龍的尖頭殼
Cookie 設定

選擇可使用哪些選用服務。你的選擇會以 Cookie 儲存 180 天。

登入工作階段、語言與你的同意選擇。這些是網站運作所必需,因此一律啟用。

目前沒有選用的 Cookie 或第三方服務。