跳到內容

本站介面文字為機器翻譯,遊戲名稱以官方繁體中文版為準。

飛龍種

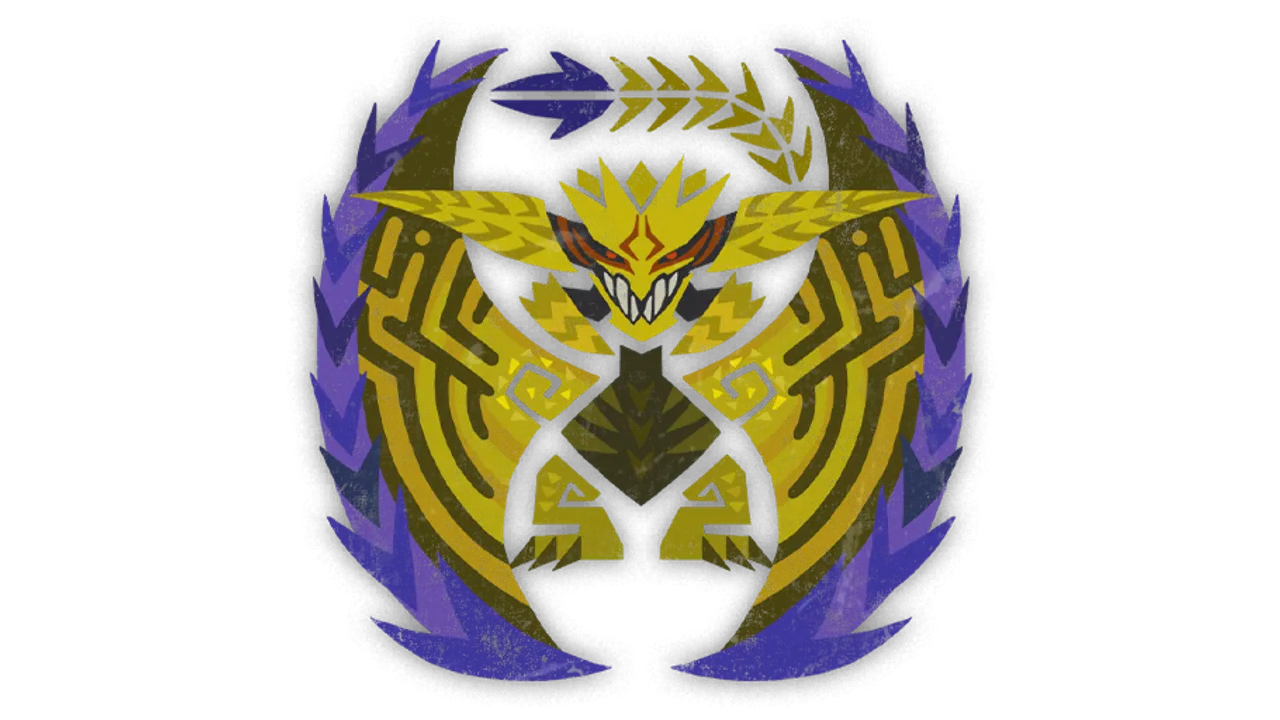
煌雷龍

棲息地: 天塹沙原 基礎體力: 5,000

Rey Dau uses the Sandtide's lightning to charge its horns, wings and tail. Charged wing or tail strikes leave fulgurite on the ground; its horn discharge creates a brief opening at the head. [1][2]

屬性

弱點

  • 火
  • 水
  • 雷 耐性
  • 冰
  • 龍

異常狀態

  • 毒
  • 睡眠
  • 爆破
  • 麻痺

道具與效果

  • 閃光
  • 昏厥
  • 減氣
耐性 雷噪音

狩獵之前

戰鬥顧問

你的武器種類

選擇武器種類後,可查看煌雷龍的攻擊部位、最佳屬性、合適的武器和套裝。

如何擊敗 煌雷龍

本指南部分內容尚未翻譯,以英文顯示。

Watch the fulgurite on the wings

After a charged wing or tail touches the ground, fulgurite extends the next strike's reach. Do not use the ordinary wing's reach as your dodge distance. Both sources advise breaking the charged appendage to reduce this pressure; wait for the wing to finish moving before stepping in. [1][2]


Clear the nest's charged ground

At Rey Dau's nest, a lightning strike can trigger a delayed explosion through the fulgurite floor. Mobalytics describes Grounding Pods and a hanging rock as ways to discharge an area. Move away from the first impact, then use the opening rather than standing on the glowing ground. 單一來源 [2]

準備

  • If lightning hits are ending the hunt, check thunder resistance on your armor and meal before retrying. Keep enough room to leave the delayed blast area in Rey Dau's nest. 單一來源 [1][2]
  • Bring Flash Pods if the aerial attacks keep you away from the wings. Mobalytics reports that a flash can bring Rey Dau down while it is airborne; watch for the landing before committing to a long attack. 單一來源 [2]

攻擊模式

  • 前兆

    Rey Dau backflips into the air and turns one wing toward the hunter.

    應對

    Read which wing will land and move across to its other side. Check for a follow-up before attacking the wing; a charged strike can leave fulgurite where it lands. 單一來源 [2]

  • 前兆

    The horns spark and Rey Dau prepares a lightning discharge from its head.

    應對

    Leave the blast line before it fires. After some discharges the horns open for a short Focus Strike window; approach only after the blast and any delayed ground explosion have passed. [1][2]
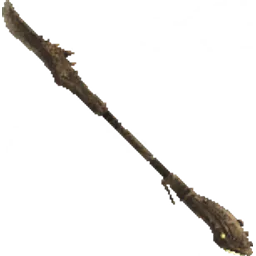
部位

肉質

部位切斷打擊彈藥
頭部60(弱點)65(弱點)50(弱點)515020(弱點)5
左翼45(弱點)50(弱點)45(弱點)5100155
右翼45(弱點)50(弱點)45(弱點)5100155
尾巴45(弱點)4045(弱點)550105
右腳37373355055
左腳37373355055
軀幹30302555055

數值越高傷害越大。醒目標示:物理 45 以上,屬性 20 以上(本站標準)。資料來源的基礎值,憤怒或傷口等狀態可能改變數值。

上位

部位破壞

獎勵和機率來自單一資料來源,未經核實。來源未列出破壞的戰鬥優勢,因此不顯示。

推薦配裝

尚無以 煌雷龍 為目標的公開配裝。

所有針對 煌雷龍 的配裝(0) → 針對 煌雷龍 配裝 →

素材

掉落

素材方式機率
煌雷龍的雷電角 破壞部位 100%
煌雷龍的蒼雷晶爪 破壞部位 100%
煌雷龍的蒼雷晶爪 破壞部位 100%
煌雷龍的雷玉 任務報酬 100%
煌雷龍的尾巴 剝取(切斷尾巴) 93%
龍血石 破壞傷口(強化個體) 70%
煌雷龍的上鱗 剝取(腐敗,切斷) 60%
煌雷龍的上鱗 破壞傷口 50%
煌雷龍的堅殼 破壞傷口 50%
煌雷龍的尾巴 剝取(腐敗,切斷) 40%
煌雷龍的上鱗 剝取(腐敗) 40%
煌雷龍的雷電角 任務報酬 36%
煌雷龍的蒼雷晶爪 任務報酬 36%
煌雷龍的上鱗 剝取 30%
煌雷龍的堅殼 剝取(腐敗) 30%
堅龍骨 剝取(腐敗) 30%
煌雷龍的上鱗 任務報酬 26%
煌雷龍的堅殼 任務報酬 26%
煌雷龍的堅殼 剝取 23%
大塊龍血石 破壞傷口(強化個體) 23%
煌雷龍的上鱗 任務報酬 22%
煌雷龍的堅殼 任務報酬 22%
煌雷龍的逆鱗 任務報酬 21%
煌雷龍的蒼雷晶爪 剝取 18%
煌雷龍的蒼雷晶爪 任務報酬 16%
煌雷龍的蒼雷晶爪 任務報酬 16%
煌雷龍的雷電角 剝取 13%
煌雷龍的尾巴 剝取 11%
煌雷龍的尾巴 任務報酬 11%
煌雷龍的尾巴 任務報酬 11%
煌雷龍的雷電角 任務報酬 11%
煌雷龍的雷電角 任務報酬 11%
煌雷龍狩獵證S 任務報酬 8%
煌雷龍的逆鱗 任務報酬 7%
煌雷龍的逆鱗 任務報酬 7%
煌雷龍的雷玉 剝取(切斷尾巴) 7%
煌雷龍的雷玉 任務報酬 7%
龍血石巨塊 破壞傷口(強化個體) 7%
煌雷龍的雷玉 剝取 5%
煌雷龍的雷玉 任務報酬 3%
煌雷龍的雷玉 任務報酬 3%

機率來自單一資料來源,尚未交叉驗證。

其素材打造的裝備

防具 · 10

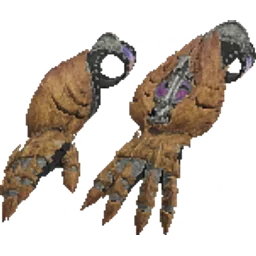
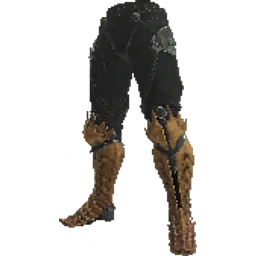
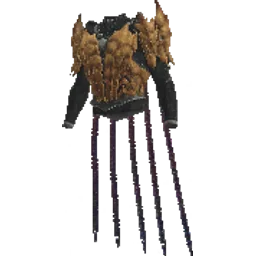
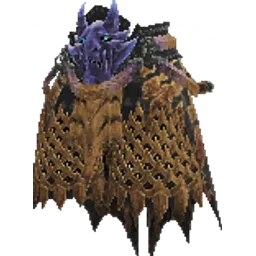
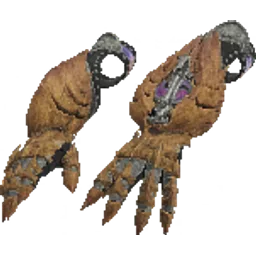
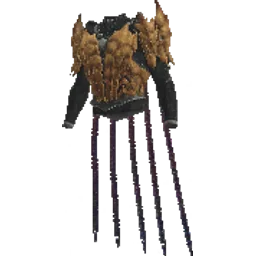
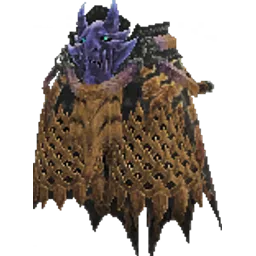
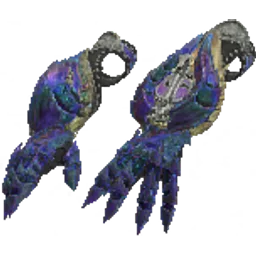
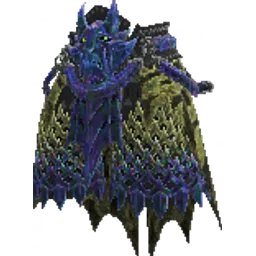
  • 煌雷龍
  • 煌雷龍α
  • 煌雷龍β
  • 煌雷龍γ

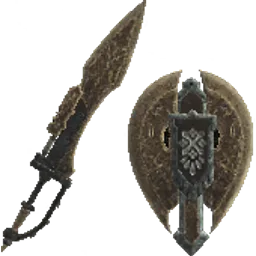
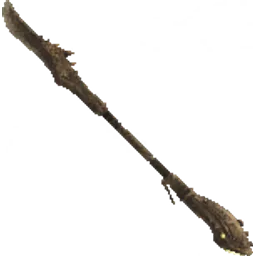
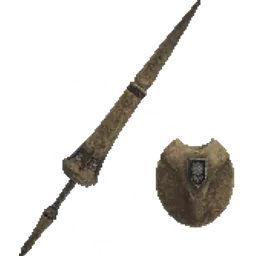
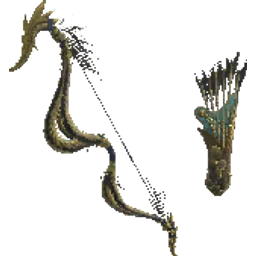
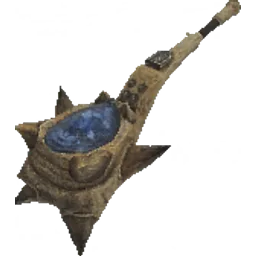
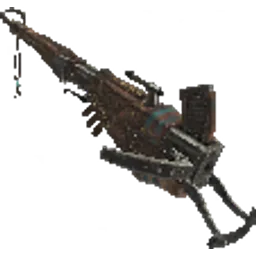
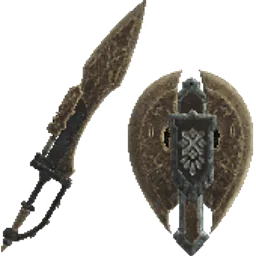
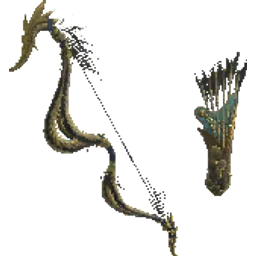
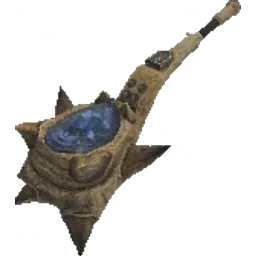
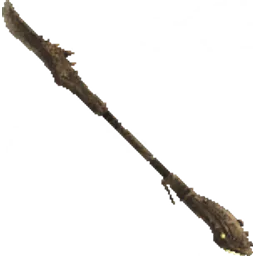
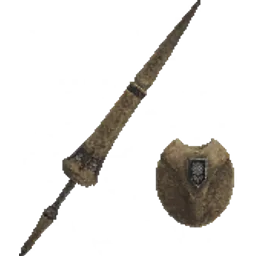
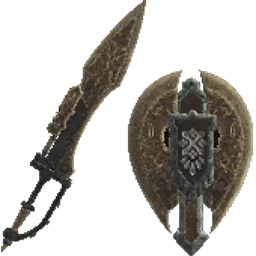
武器 · 20

出沒地點

刷素材策略

  • For a Rey Dau Tail, sever and carve the tail. Kiranico lists a separate severed-part carving pool; the percentages in the pinned snapshot have not been verified for the current patch. 單一來源 [1][2] 煌雷龍的尾巴
來源

  1. [1] Rey Dau — MHWilds monster data and in-game description · 2026-10-31 查核
  2. [2] Rey Dau Guide — Weaknesses, Location, Armor & More · 2026-10-31 查核
審核於 2026-10-31。遊戲版本:未確認。

Cookie 設定

選擇可使用哪些選用服務。你的選擇會以 Cookie 儲存 180 天。

登入工作階段、語言與你的同意選擇。這些是網站運作所必需,因此一律啟用。

目前沒有選用的 Cookie 或第三方服務。